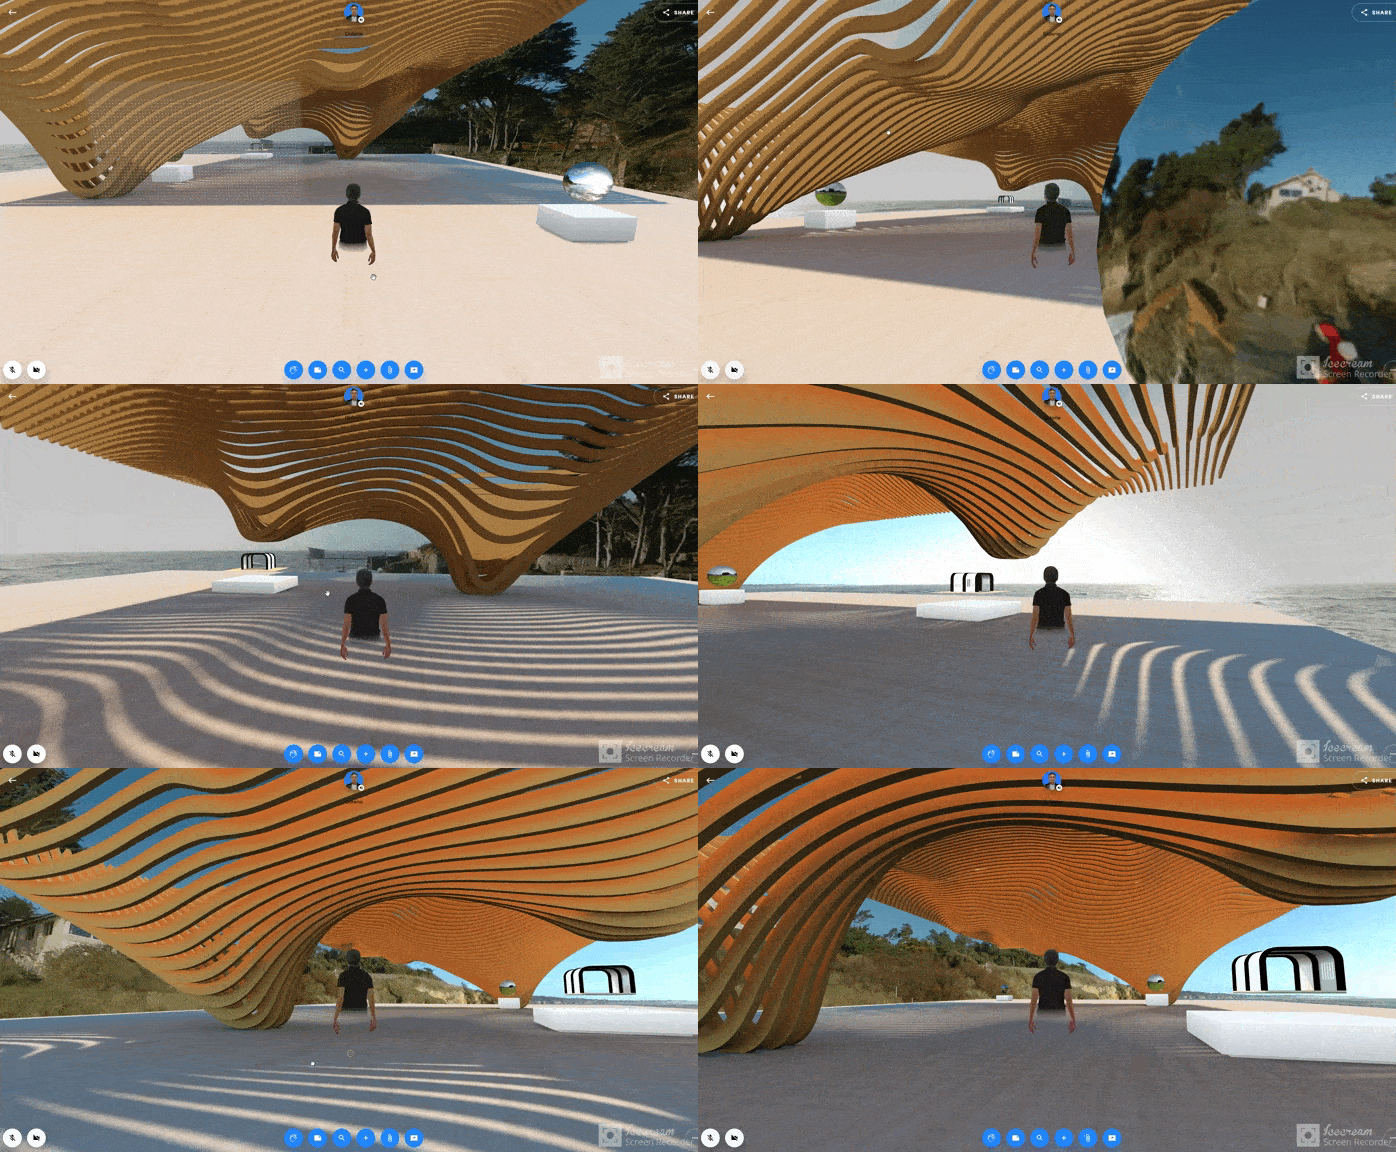
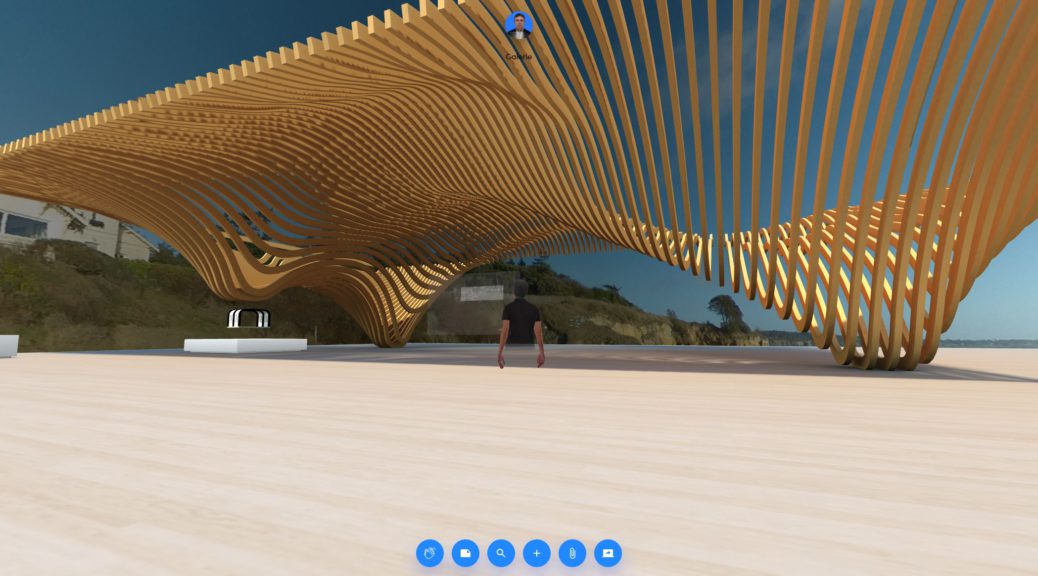
Setting up a custom environment in Spatial
This tutorial follows the requirements described on the Spatial.io web site here (https://support.spatial.io/hc/en-us/articles/360058728892-Custom-Environments-) and here (https://support.spatial.io/hc/en-us/articles/360042195672) but it describes more in details the setting up of the 3D model.
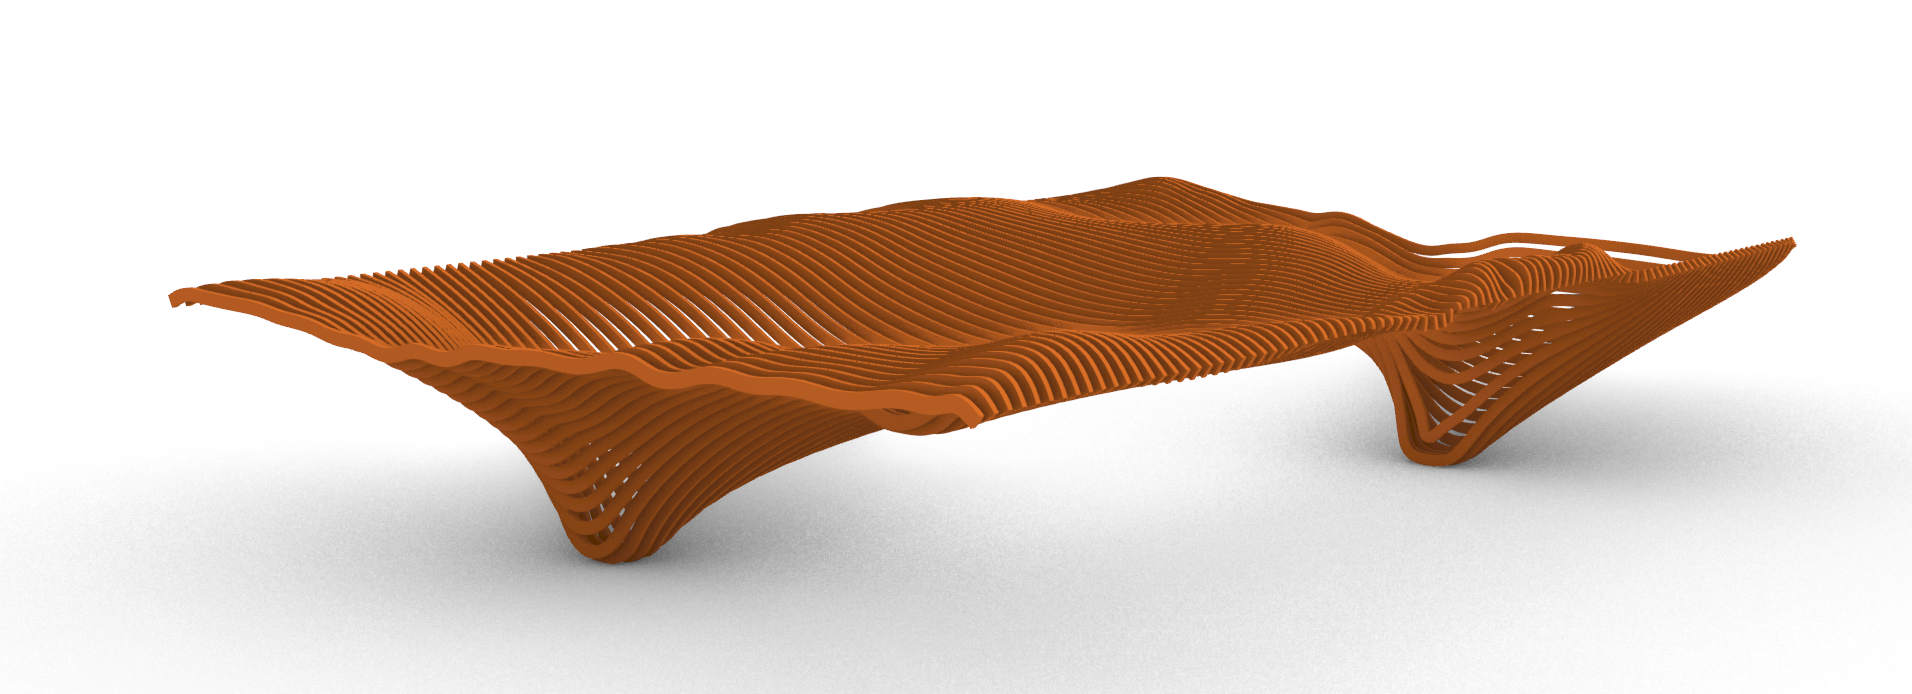
For this example I started from Rhino. The 3D is made with Grasshopper. The definition is explained here. It’s a wooden structure, shape is obtain from a simulation computed with Kangaroo. As it drawn from Brep and Nurbs, the danger would be to have too much polygons for a real time experience.
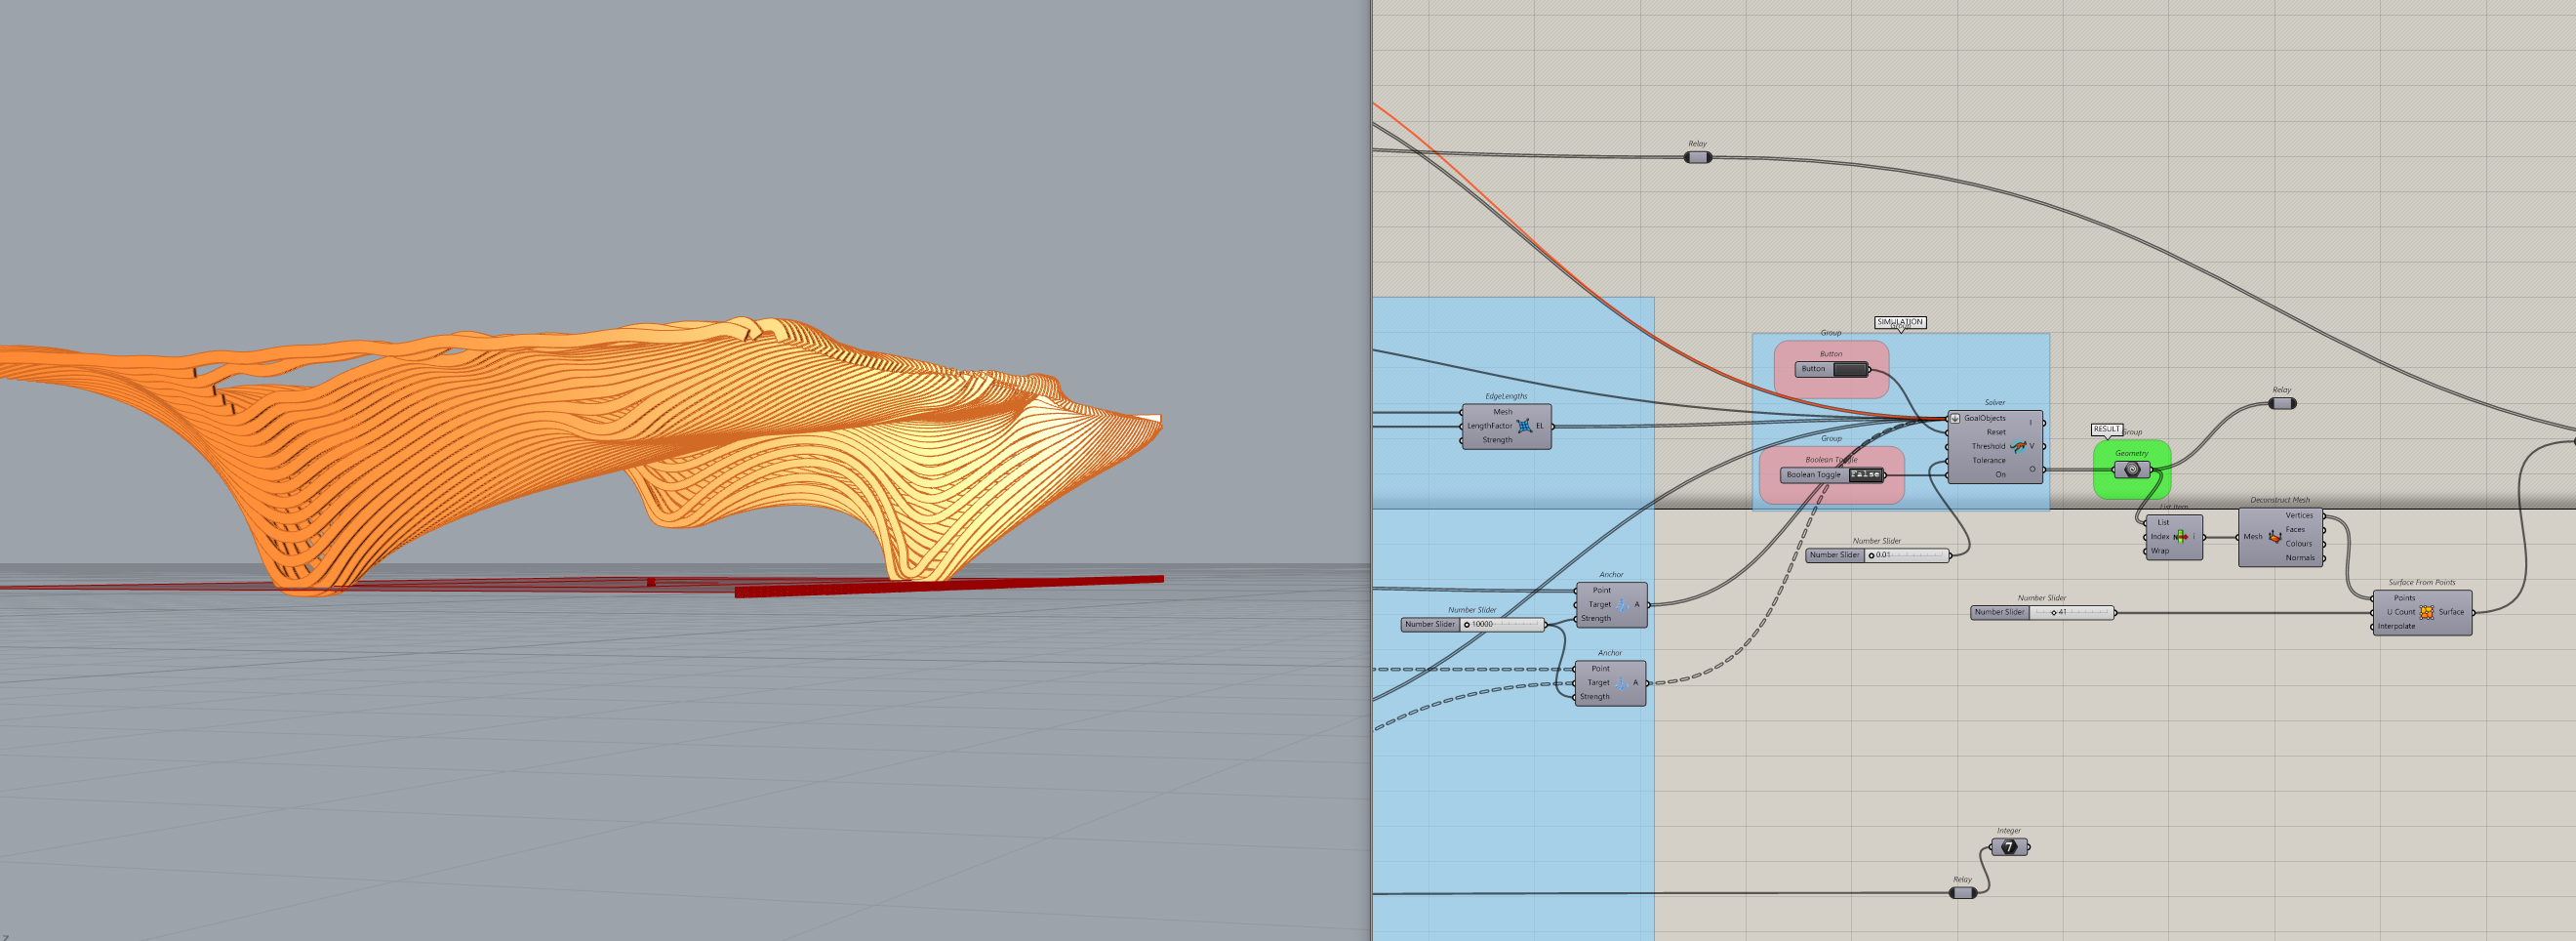
After a bit of cleaning the object is selected to be exported
![]()
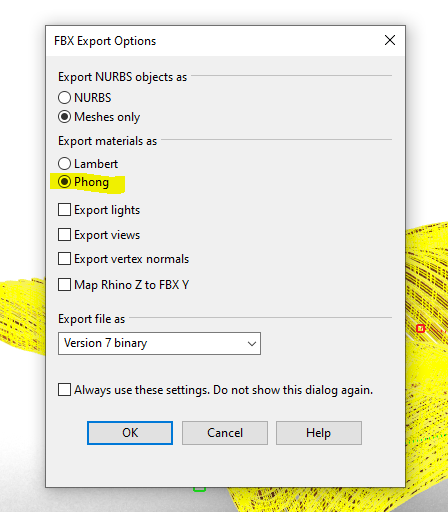
Sometimes Rhino smoothes the polygons; tests have to be made. Choose the lowest level to export.
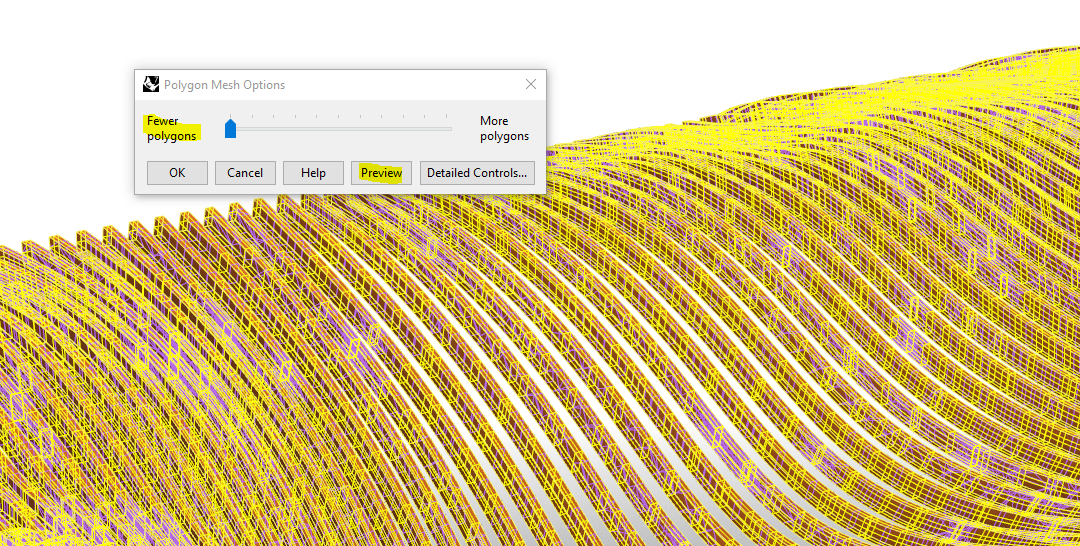
It polygons are smoothed, it’s better to use OBJ export.
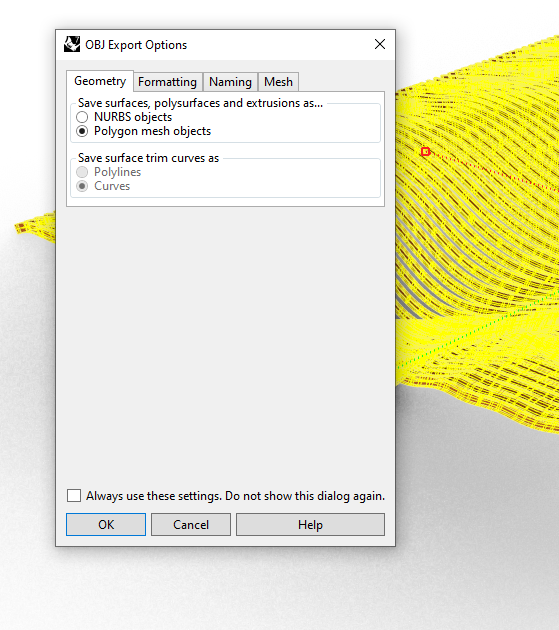
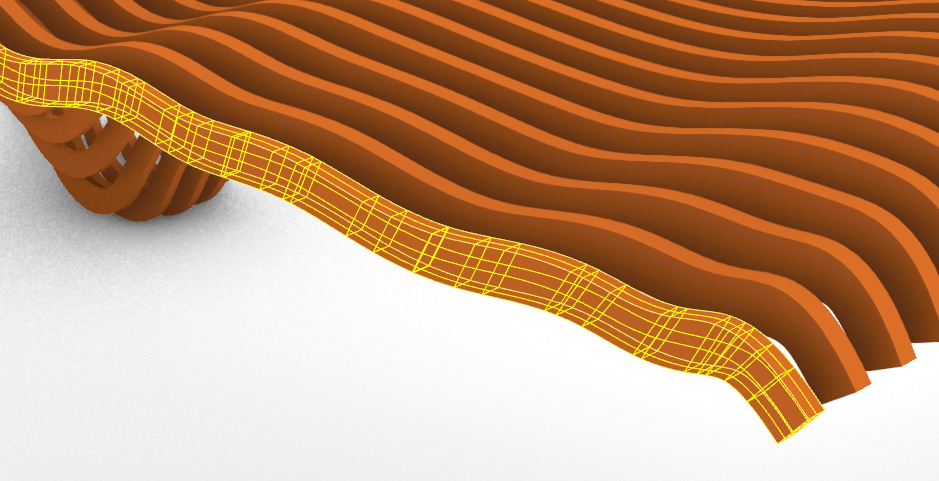
Using QuadMesh may improve the RealTime experience as the geometry will be Quad only. Real Time Engines prefer Quad only meshes!
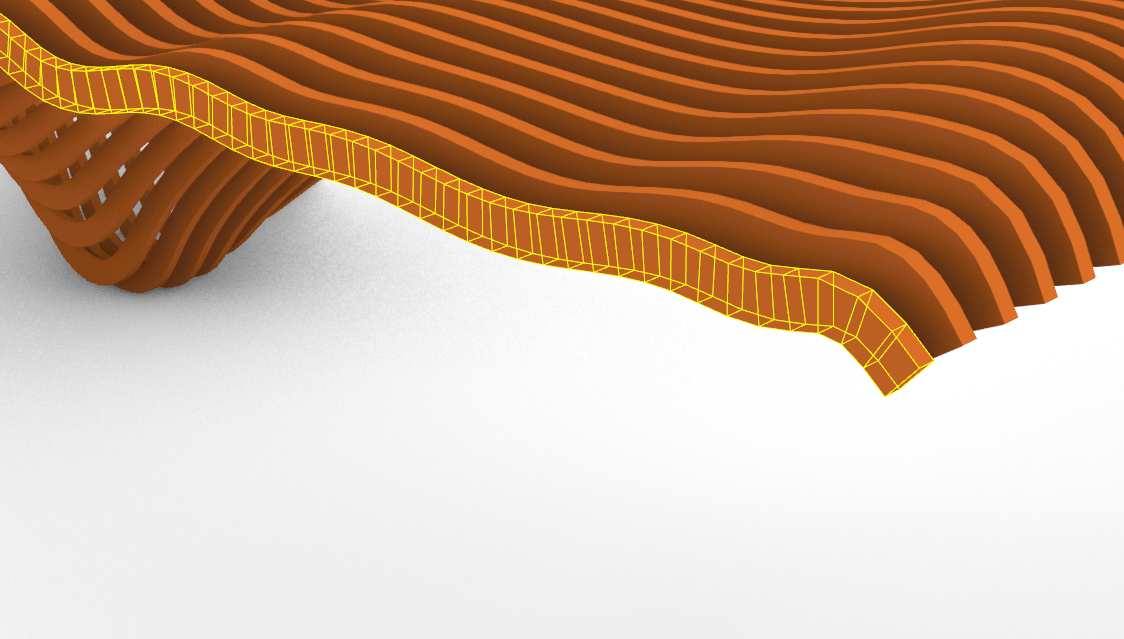
If the model is imported as this in Spatial, There will be no light. It results a very poor looking 3D.
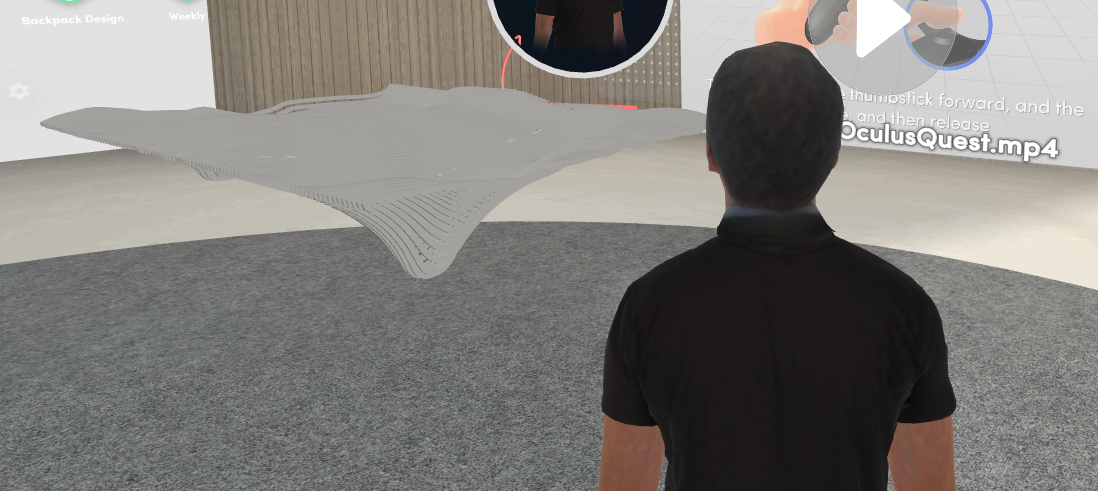
To avoid that, we will compute the light and bake it into the 3D. In other words, the light will be drawn as a texture. It will improve the look of our model and make it more realistic.
The baking process can be tricky or a very long process. In Blender for instance, objects have to be UV prepared one by one and then baked. To ease the process we will use Simlab Composer.
SimlLab is a fantastic tool to prepare Virtual Experiences. It’s one of the best platform to jump into the virtual world or to prepare models…for Spatial…! https://www.simlab-soft.com/3d-products/simlab-composer-main.aspx
We prepare a ground
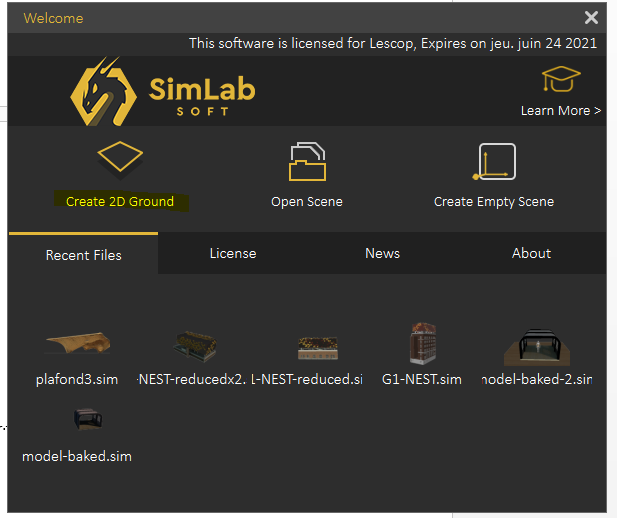
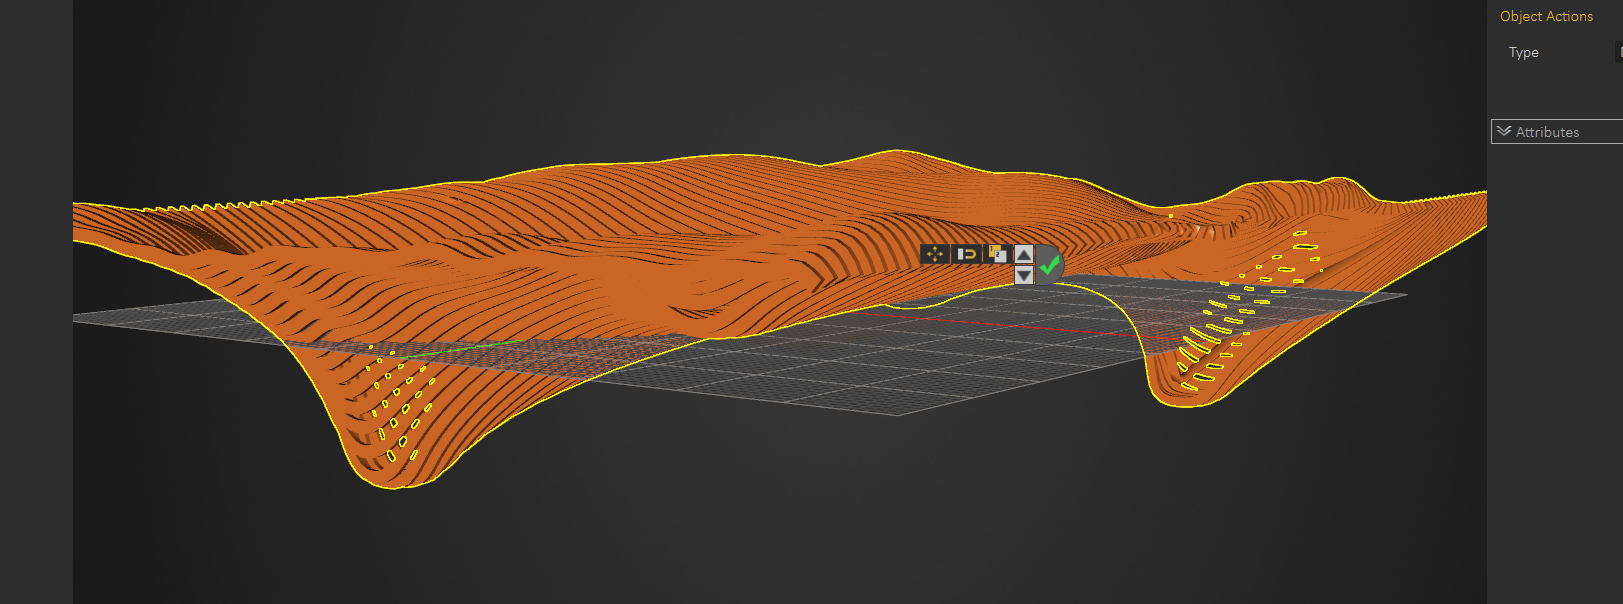
We import our geometry
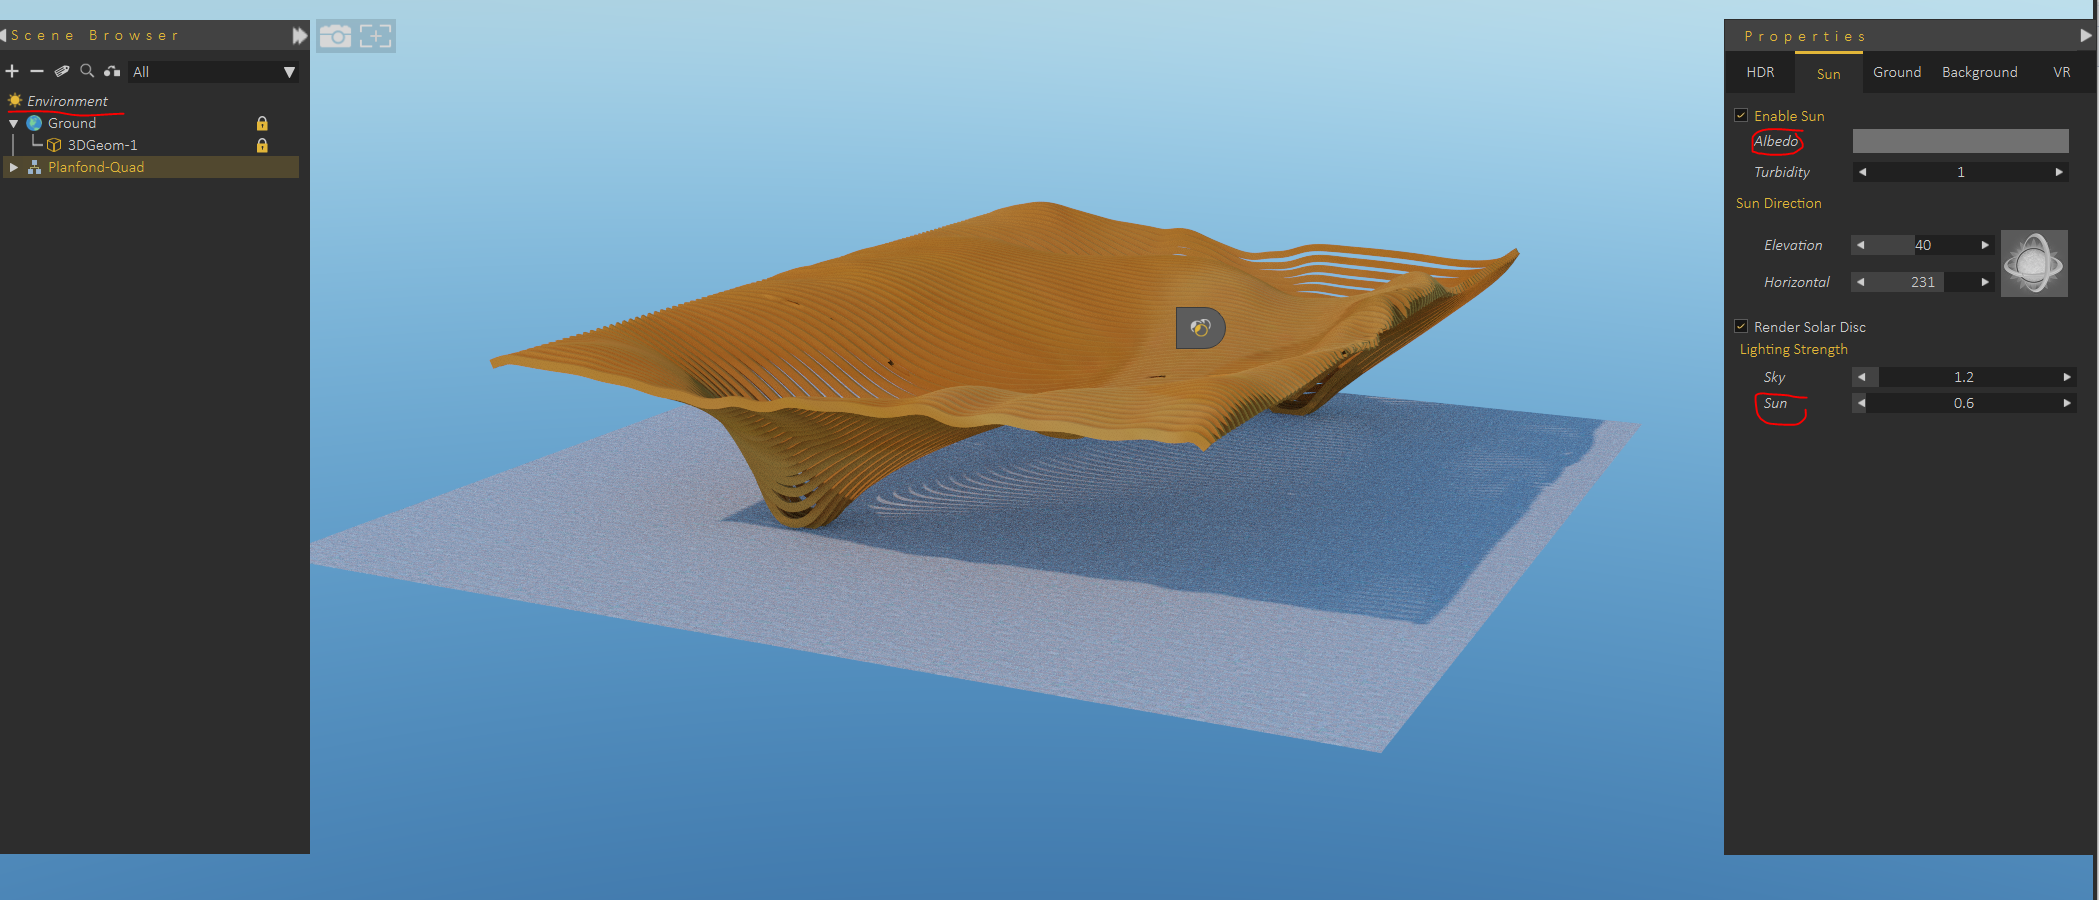
Press F4 for real time rendering and adjust the light ambiance
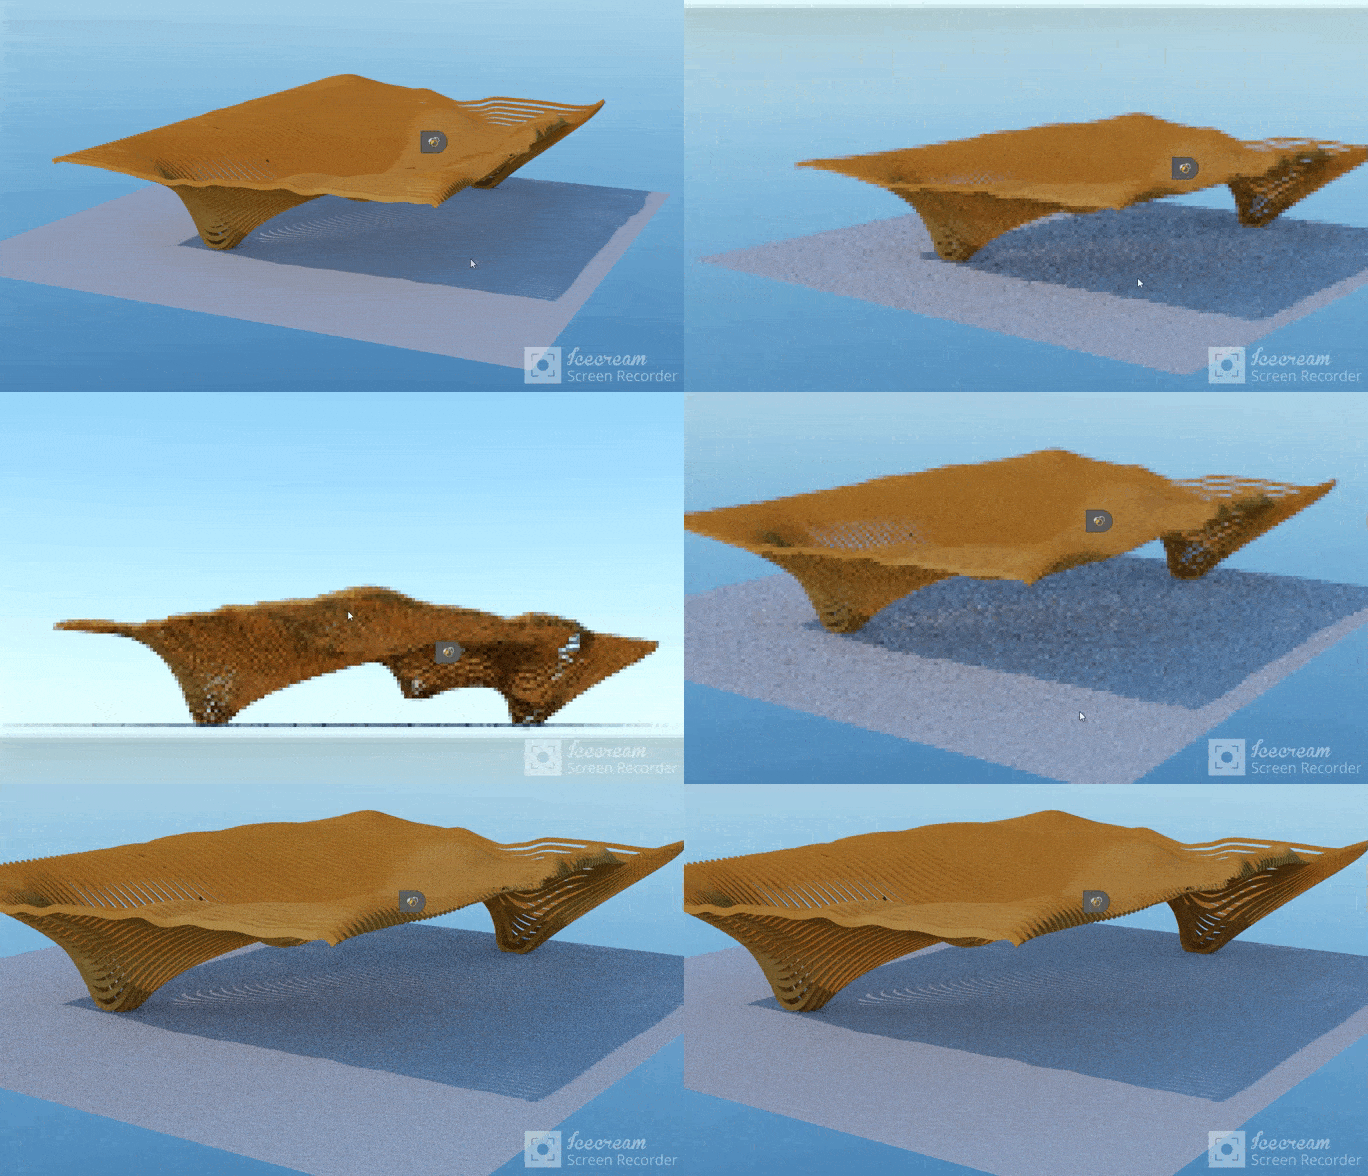
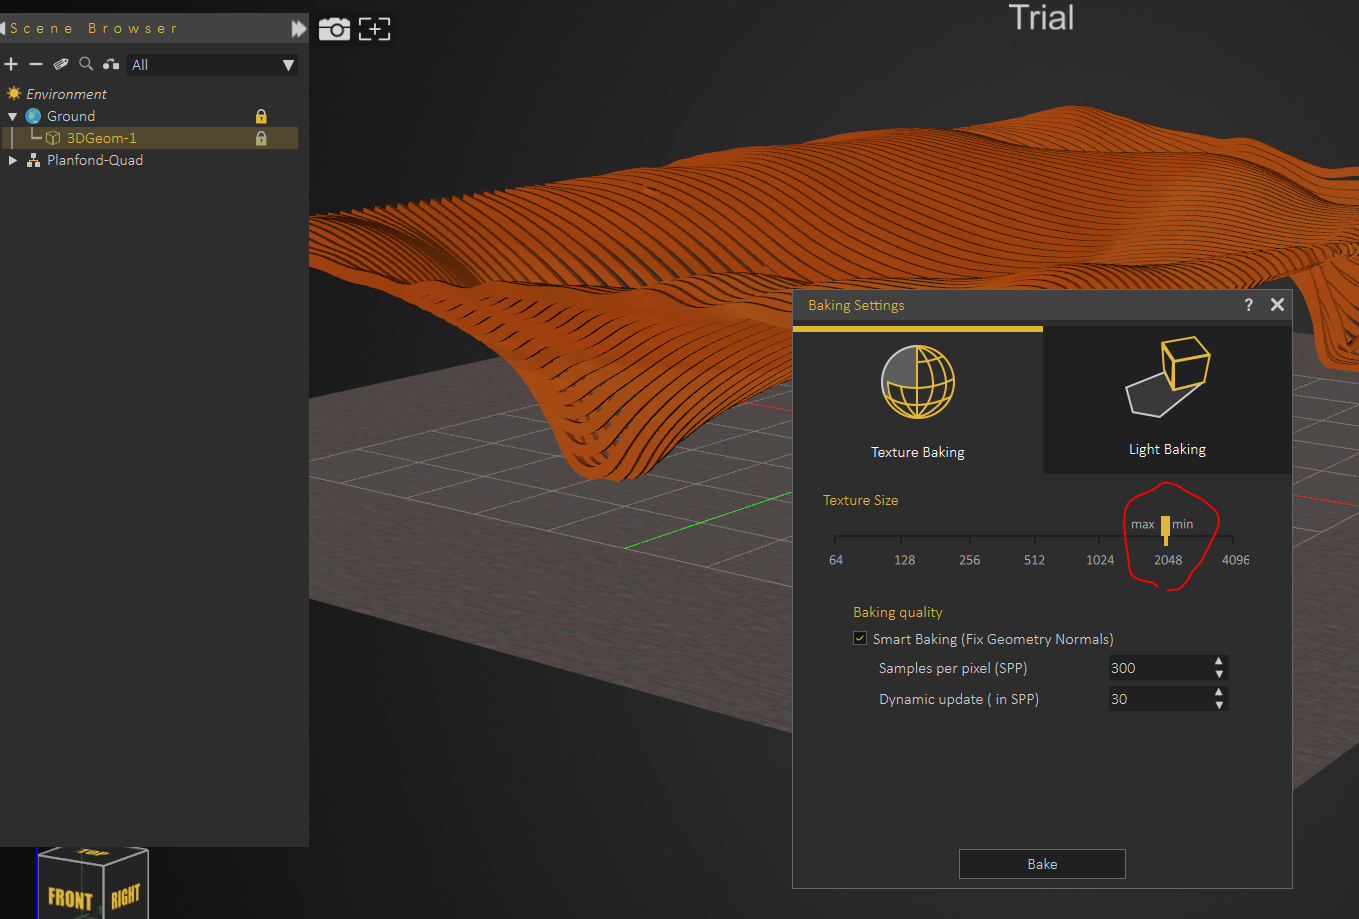
Start the baking process with the ground
Exporting in Spatial
Specifications are:
- Supported file formats: .fbx, .gltf
- Model size: up to 200m x 200m
- File size of the model: up to 30mb -> this file size is model + textures
- Maximum vertex count: 30x
- Texture: 2 x 1024*1024 or1 x 2048*2048 24 bit with mipmapping at maximum -> smaller textures seems to be accepted.
First « Set as Environment » Icon below « Duplicate »
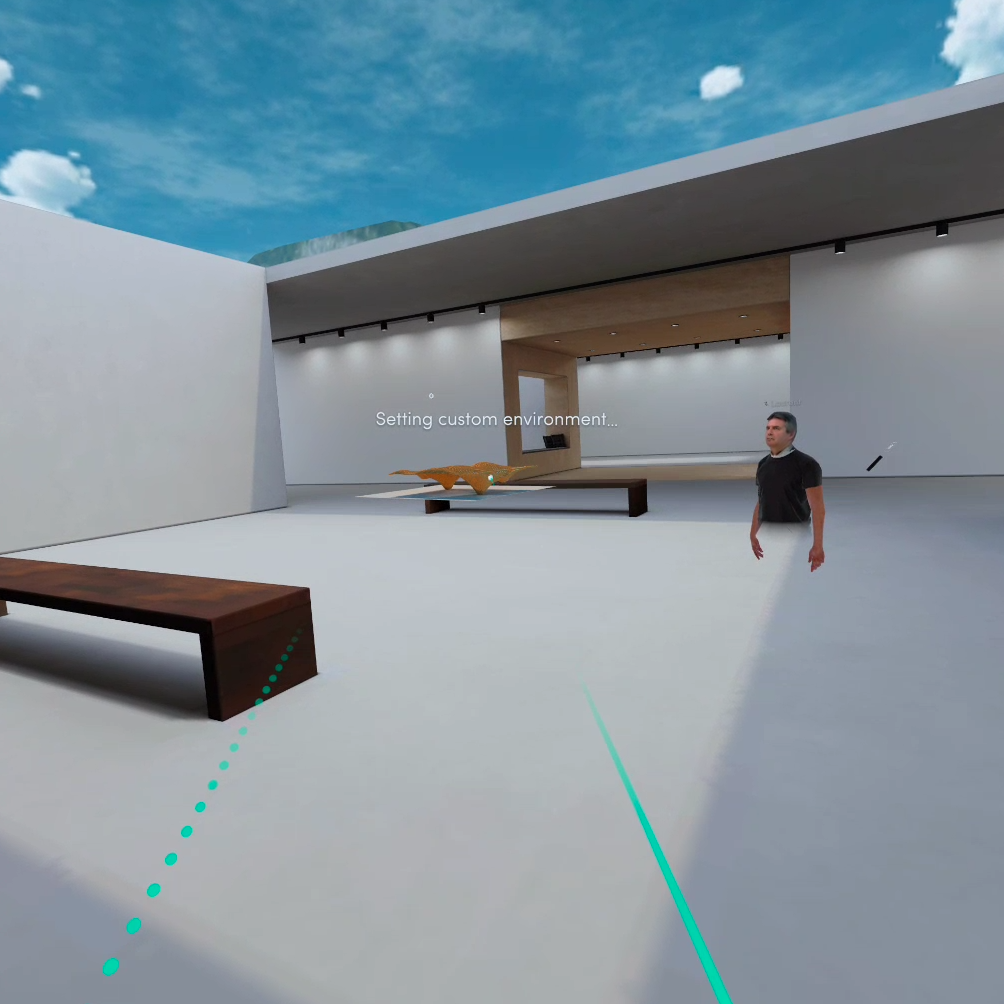
Click on the button
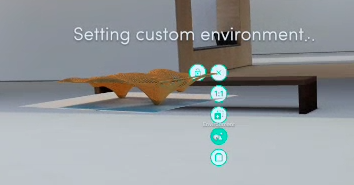

Click on set as Environment
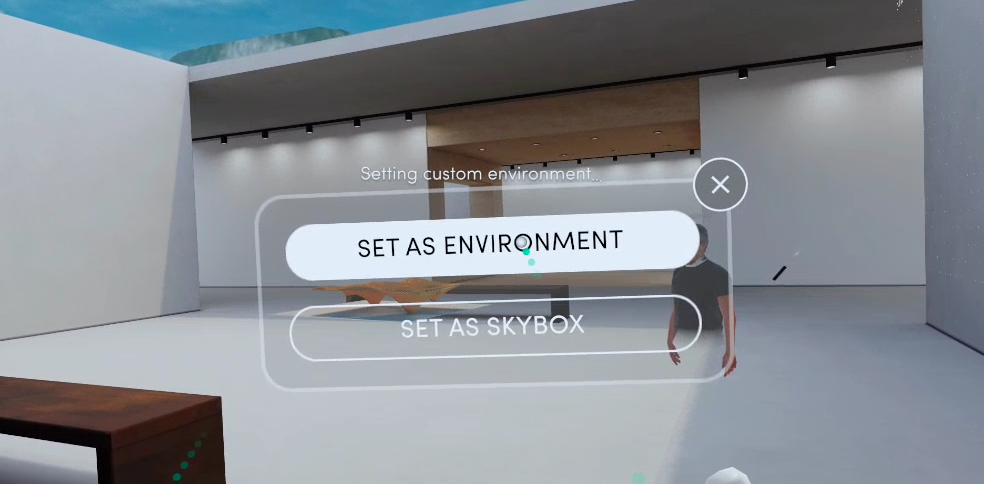
Adjust scale
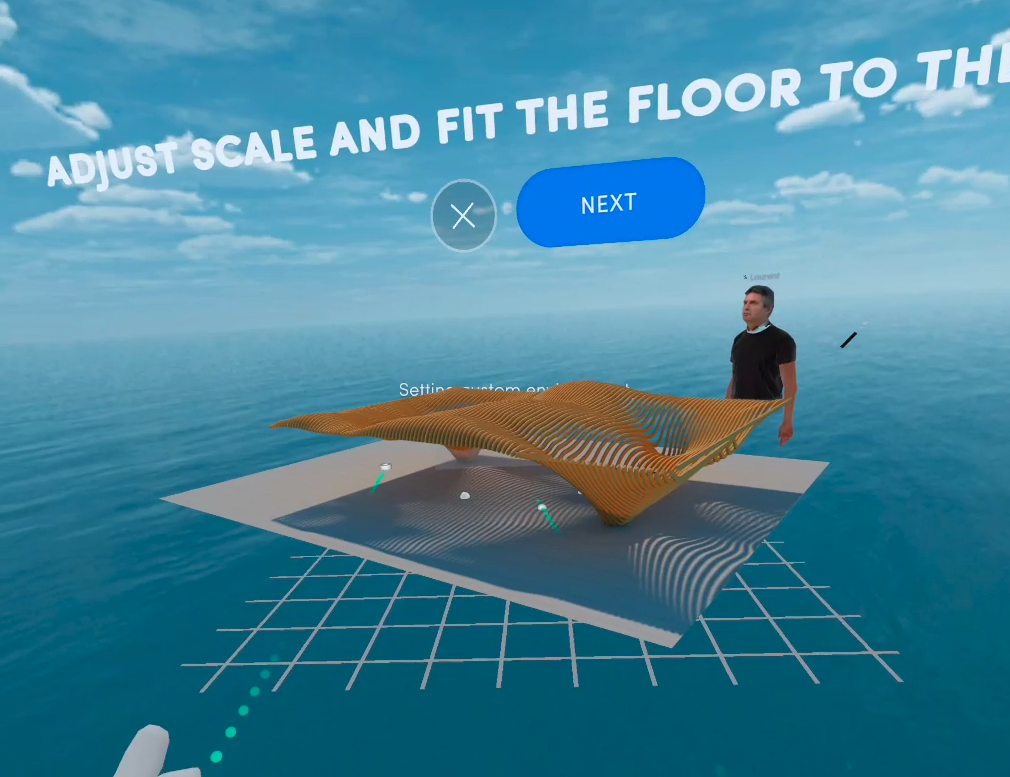
Adjust the grid as floor corresponding to yours
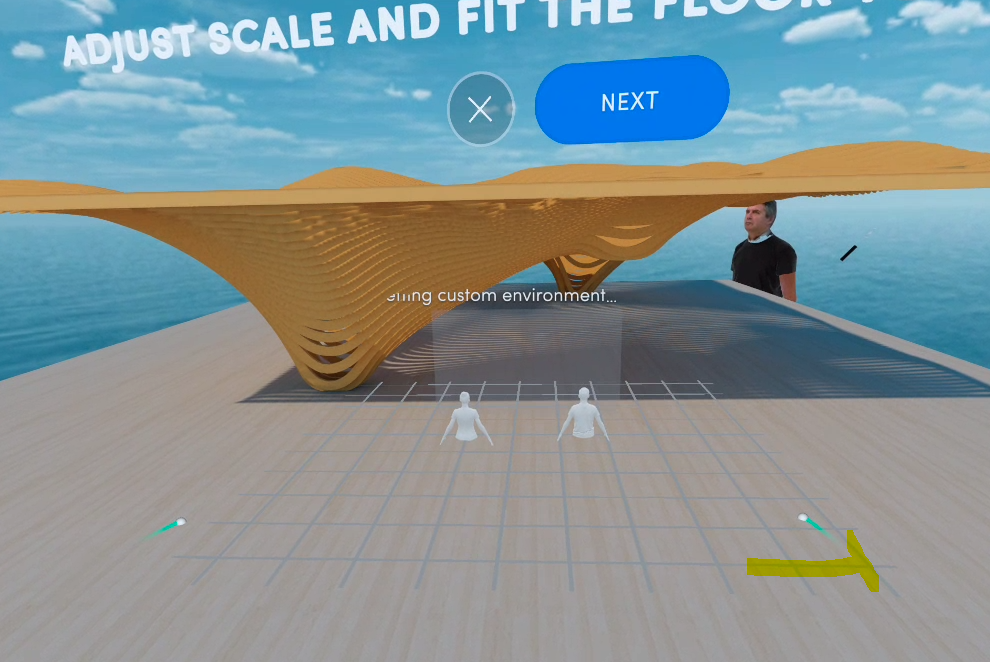
Click Next button when set
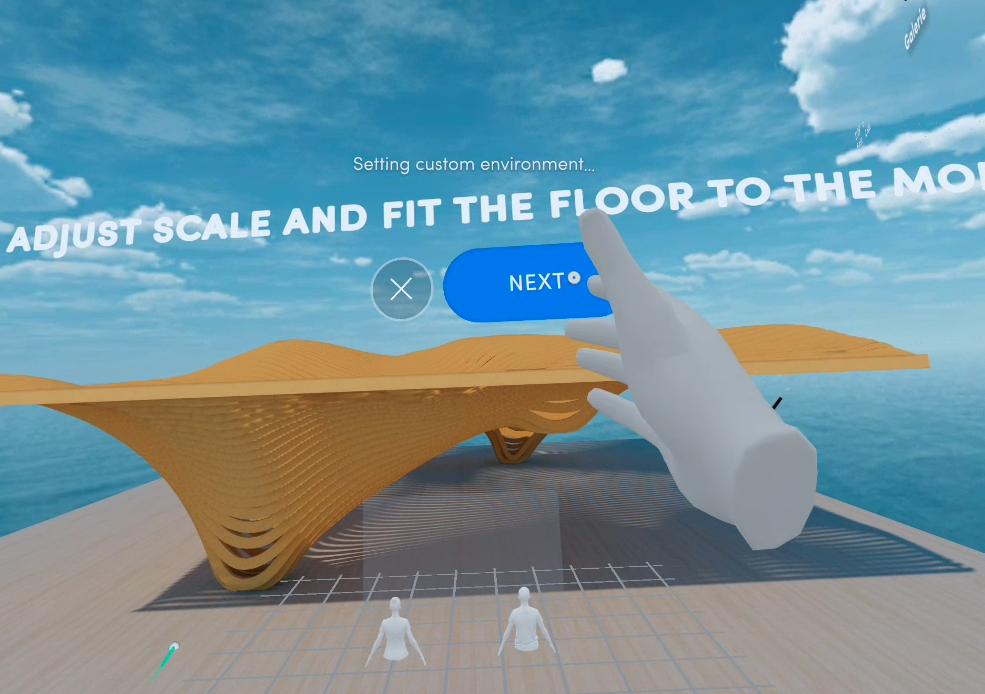
When it looks good click on the Looks Good Button
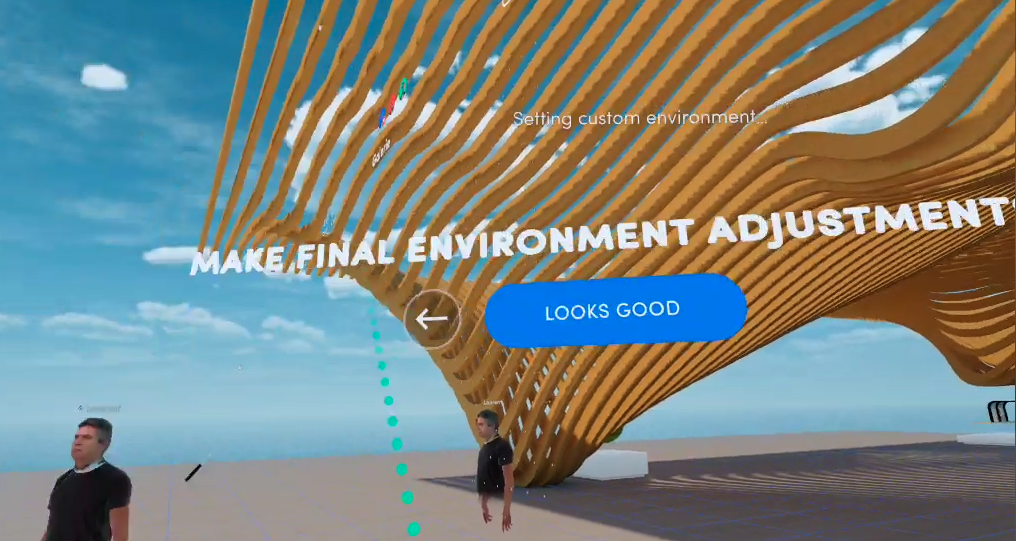
It takes a few minutes a finish
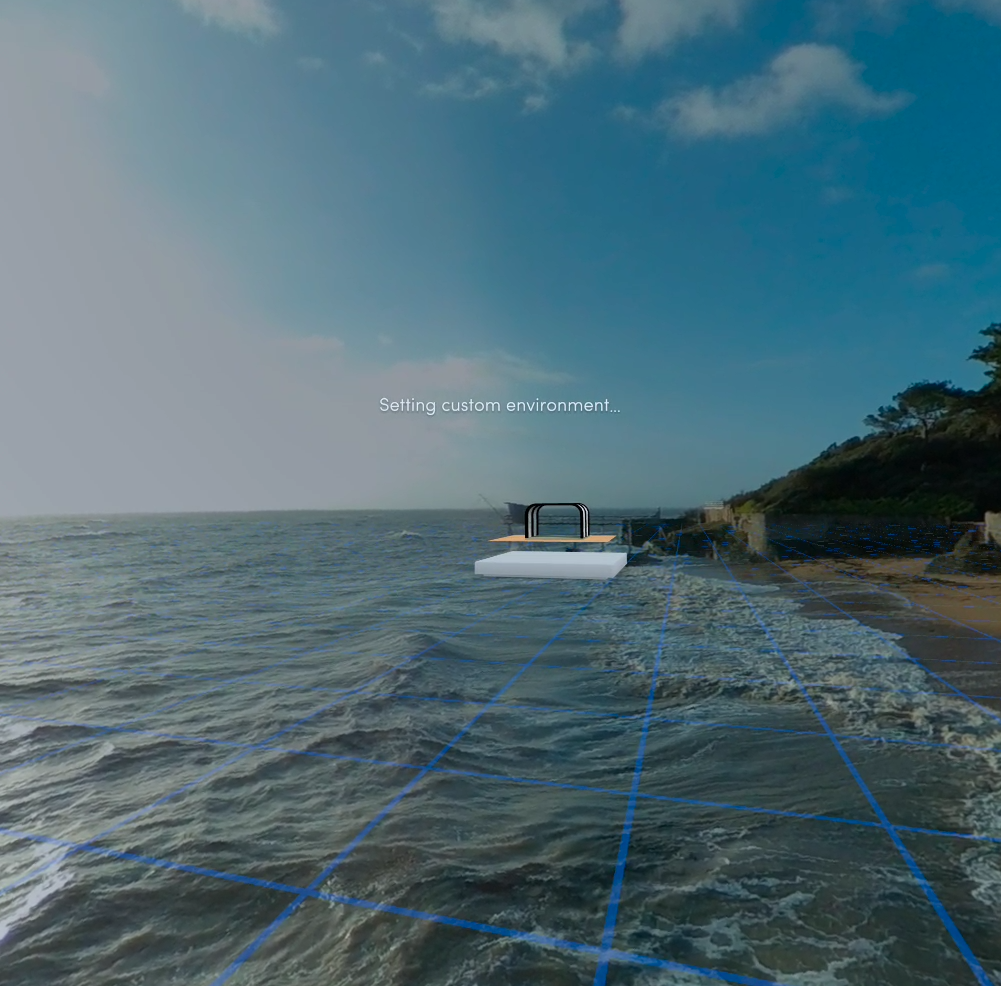
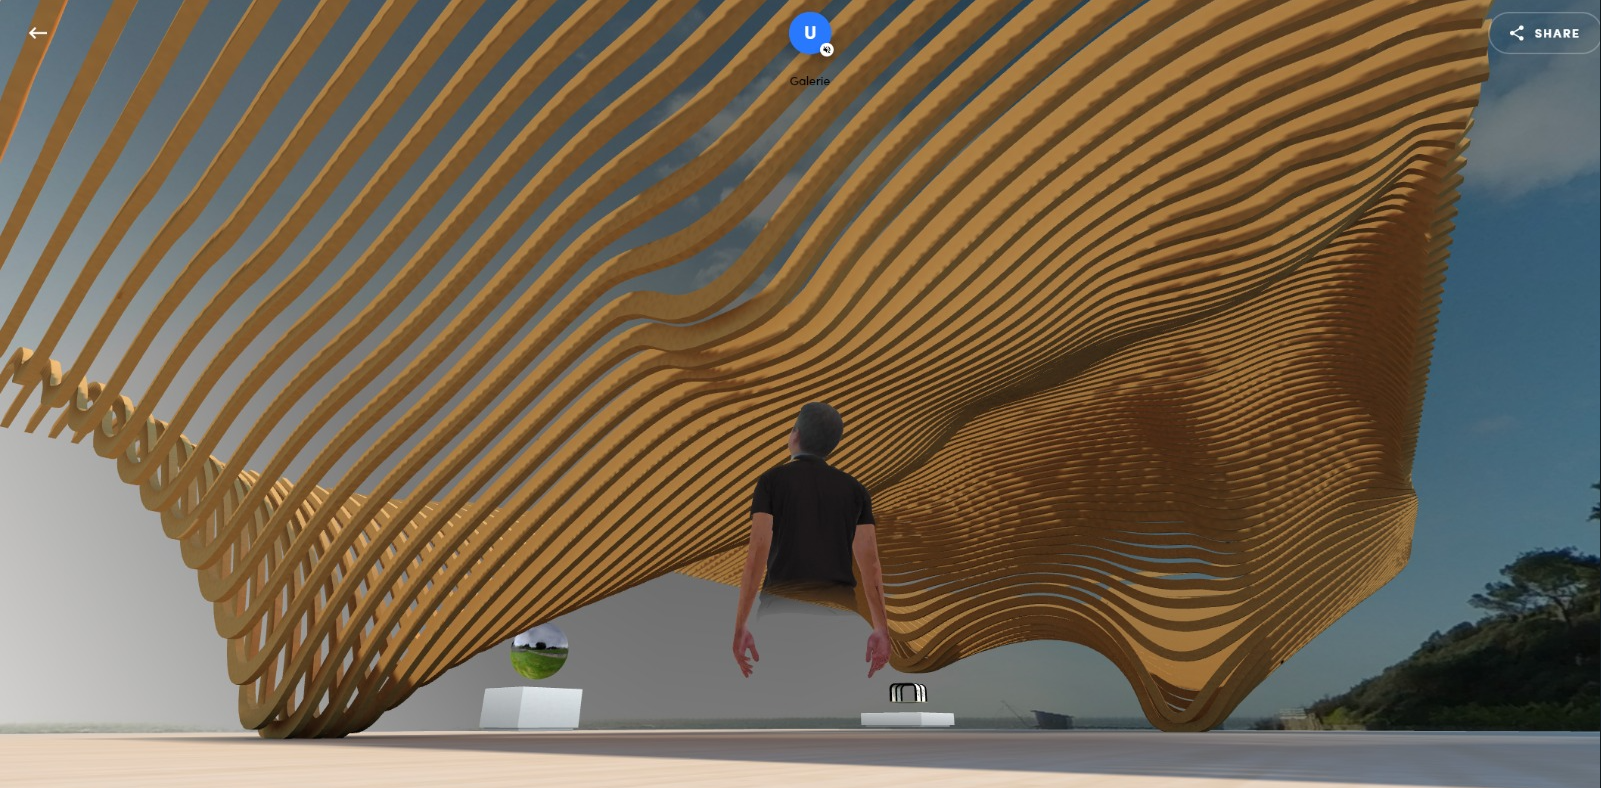
Et voilà
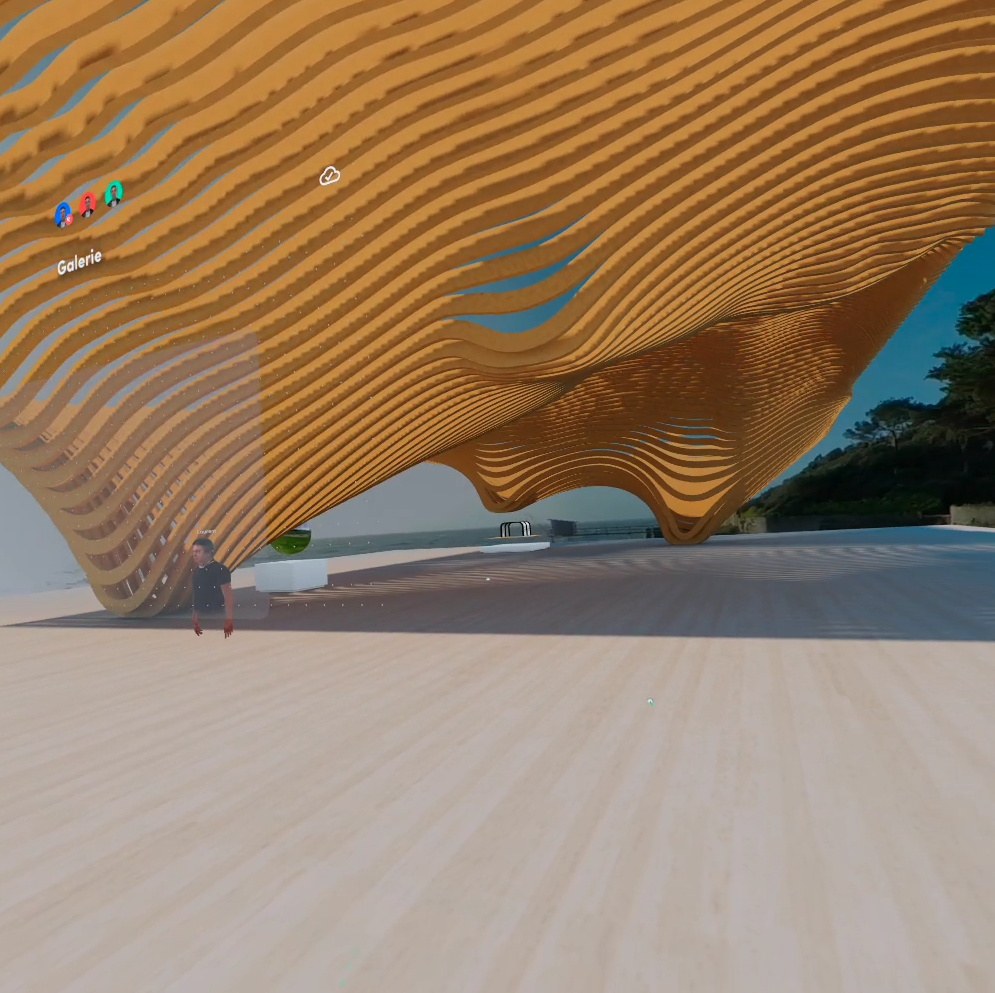
Check the memory usage.
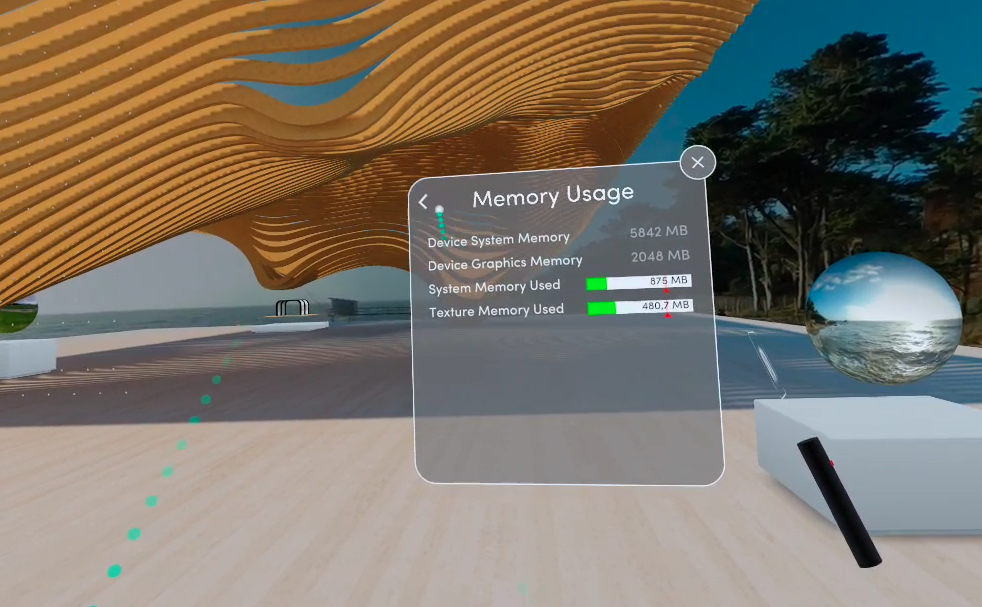
Link to this room
https://app.spatial.io/rooms/6062092f6c51d54ea49ec58a?share=809546694838622126
