Zortrax M200
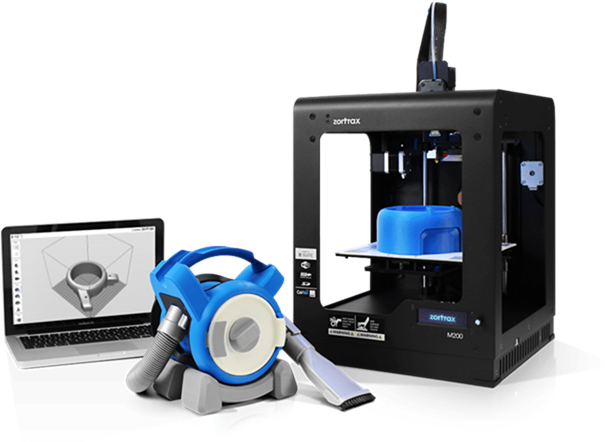
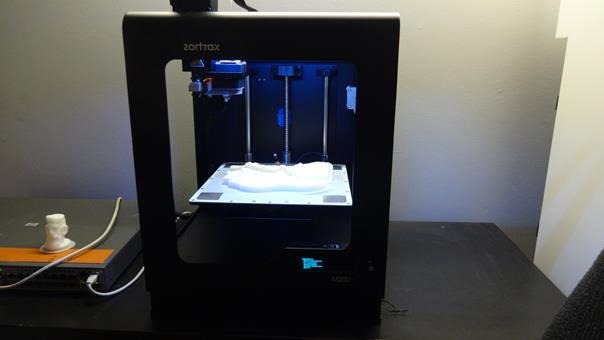
Zortrax M200 is designed by the polish company Zortrax settled in Olsztyn, in the north-east part of the country; a very nice area called the Mazurian Lakes region. The printer itself is 345 x 430 x 430 mm long, large and wide, so it’s mainly a cube. It stands easily on a table, or a shelf, with a computer not far from it. Price is 1,599.00€.
The printing technology is based on LPD – Layer Plastic Deposition, filaments are not expensive and it offers a nice medium cost solution for schools, university, or medium range offices. The build volume is 200 x 200 x 185 mm, the layer resolution settings are 90-390 microns. All other details can be found here: http://support.zortrax.com/hc/en-us/articles/201929051-Specifications
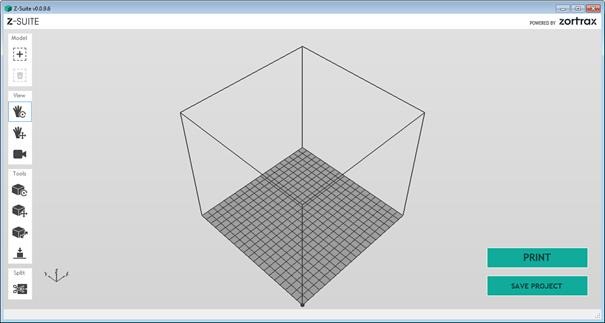
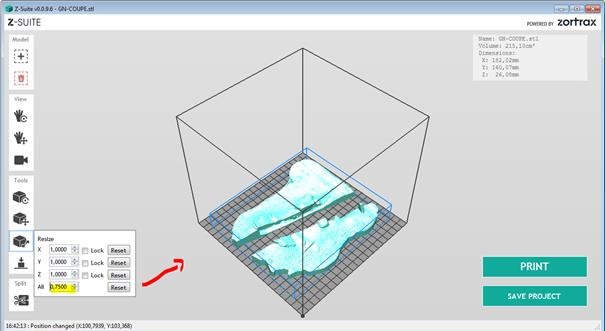
Zortrax provides Z-Suite, a free software to prepare the models. You can adjust size, layer thickness or generate reinforcement material. The software is very intuitive, just open the STL or OBJ file and then fit it to the platform. Details here: http://support.zortrax.com/hc/en-us/articles/201809922-Z-Suite-Manual##adding.
It’s a very straightforward interface.
My first test.
Preparation
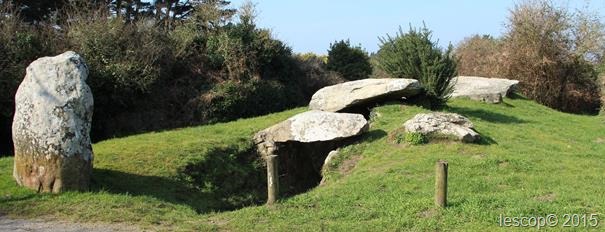
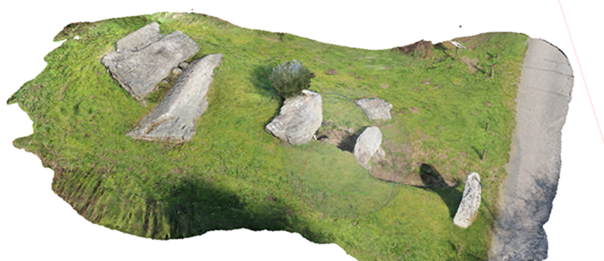
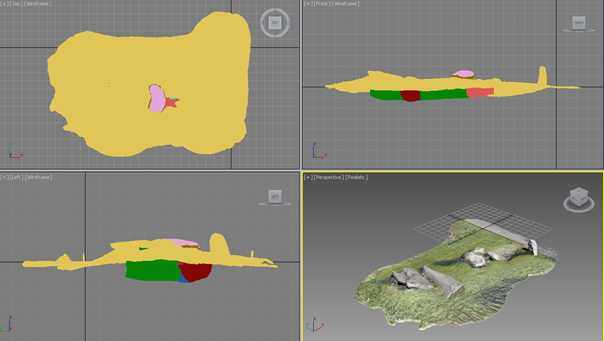
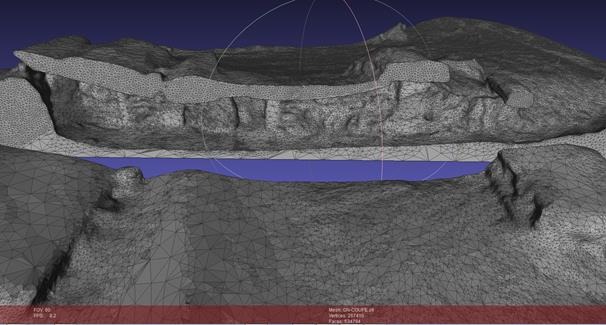
I prepared for my first test a model of a cairn, which is a prehistoric tomb. The surface is like a small hill with huge stones, a hole on the ground leads to a corridor down to the chamber. The 3D model is done with photogrammetry, the High Res model has been decimated down to 500 000 points.
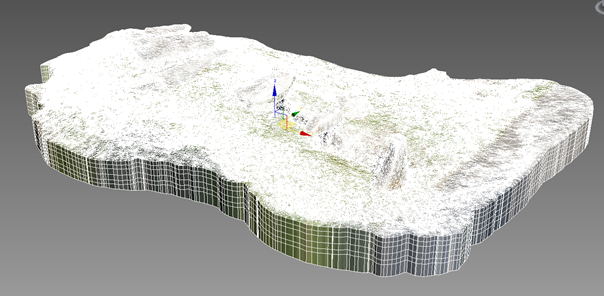
I wanted to do a sliced model just like a section. So I cut y model into two half’s. I extruded the edges in order to have a closed geometry with a flat bottom side.
Then I sliced the geometry and capped the holes.
I lost some details but I knew that the print would be only 18cm long.
It remains a detailed model with 534 794 polygons.
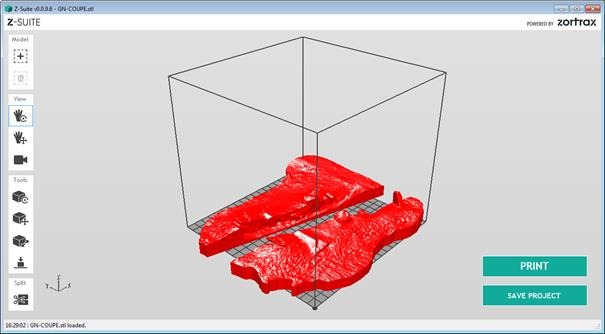
The geometry is saved to STL and imported into Z-Suite.
Red color means that the size is too big, it has to be reduced.
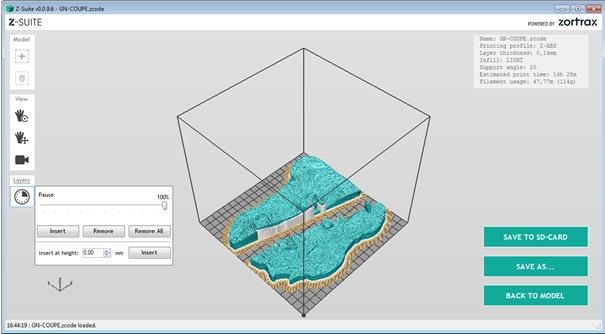
Then press print. When done, Z-Suite gives very important details concerning the following process.
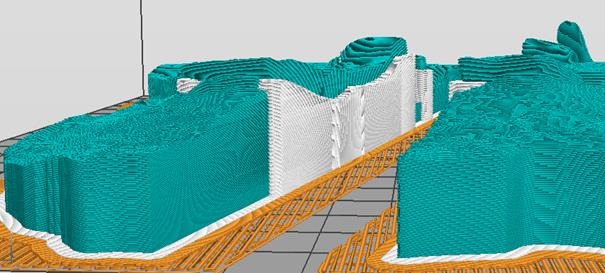
The orange color refers to the socle that will be then removed. The white parts are what will also be removed, it’s where the voids are.
It’s also possible to have a detailed view of the printing process, layer by layer.
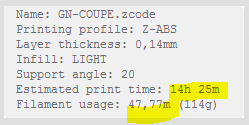
For this model, it should take 14h25m and use 47,77 m of filament to be completed.
Results
We’ve got two printers, next day, I couldn’t wait to see the results.
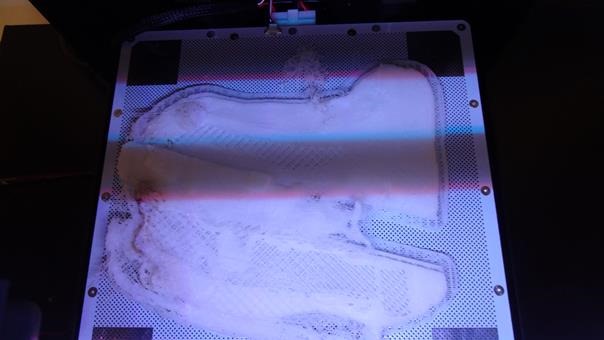
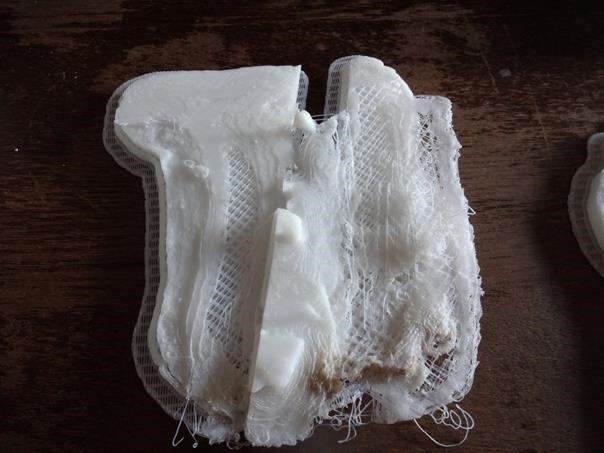
I did 2 runs simultaneously, I wanted to have two copies. But I got only one. One print went very badly, I don’t know why. I got this kind of toasted disaster.
Maybe was the temperature too high, I don’t know. I will ask.
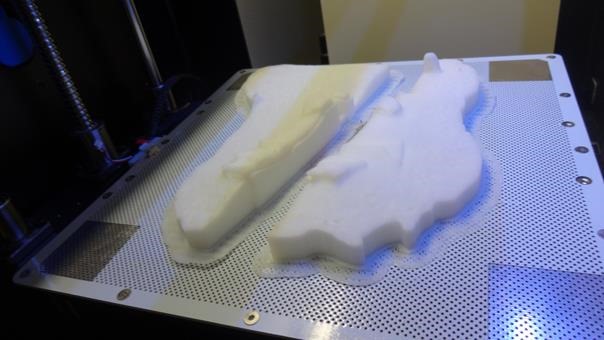
Hopefully, the second one was ok. Well, almost ok.
The bottom face should be totally flat, but the print bend a little bit.
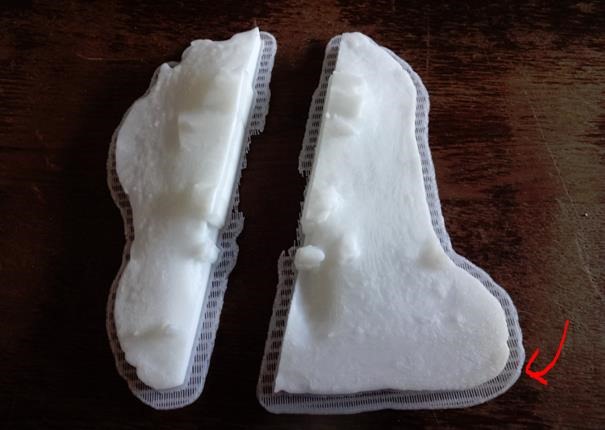
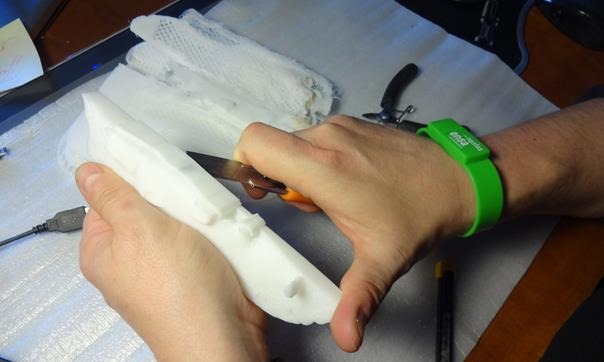
I removed the socle, it’s impressive, it’s necessary to tear very hard at the beginning, but then everything come at ease.
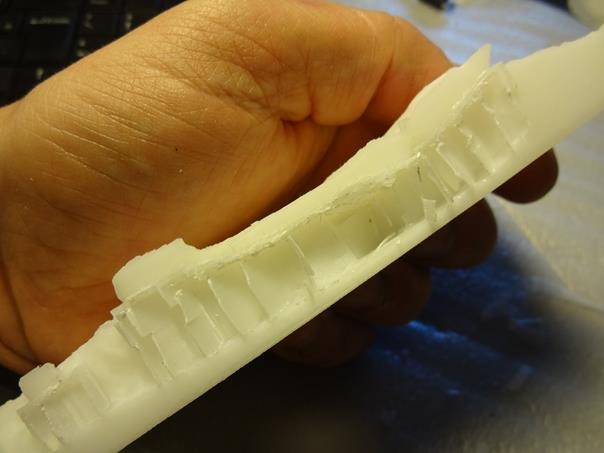
Removing the inner parts was more challenging. And I know I should wear gloves.
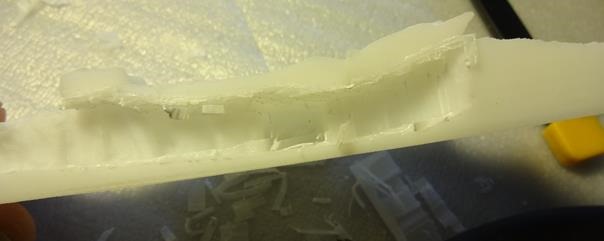
After a lot of efforts I could remove the first layer of plastic.
With time, you get to remove the protective volume. There it’s almost done.
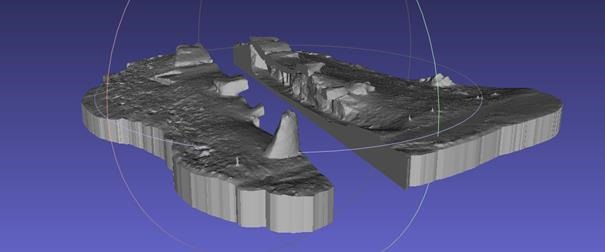
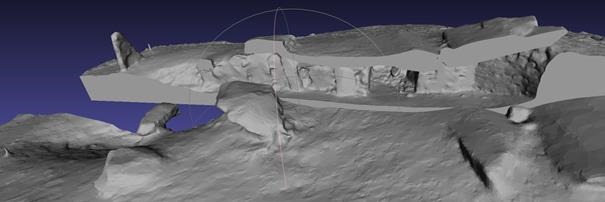
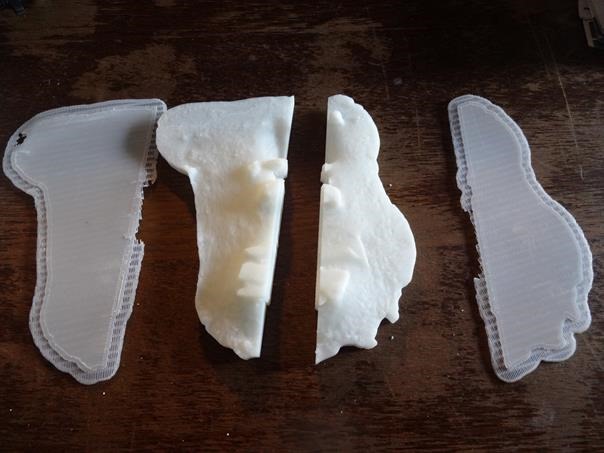
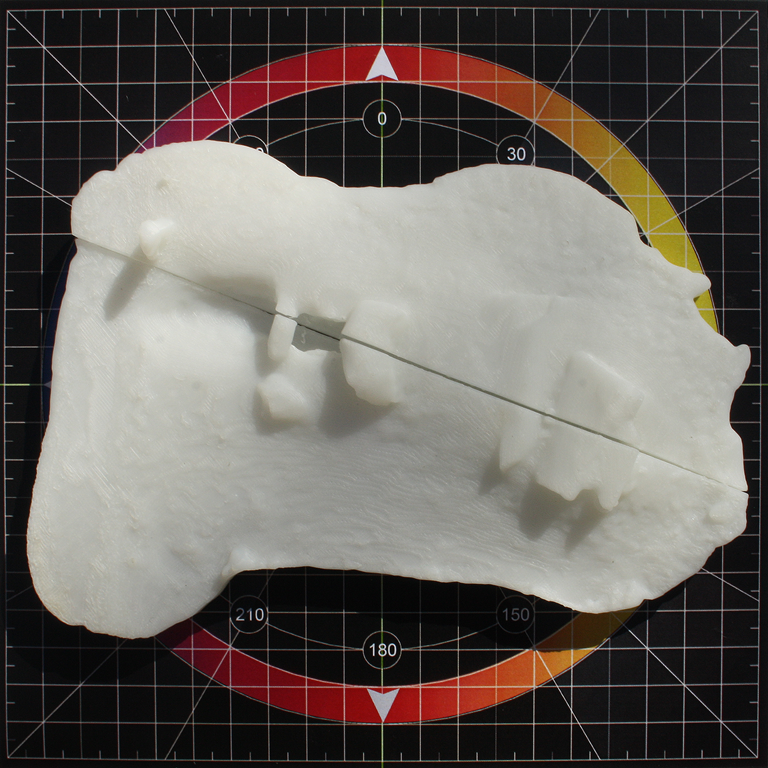
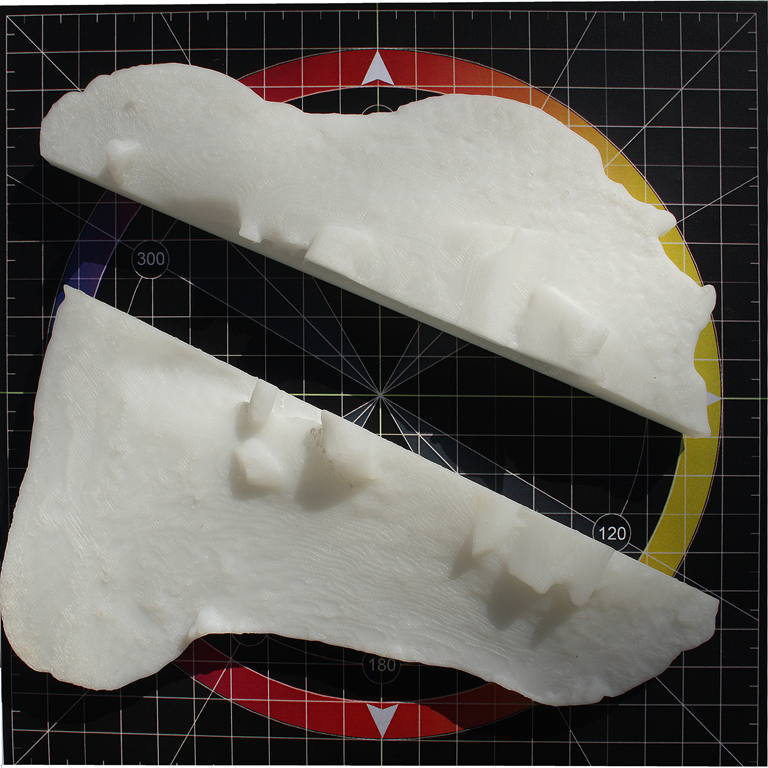
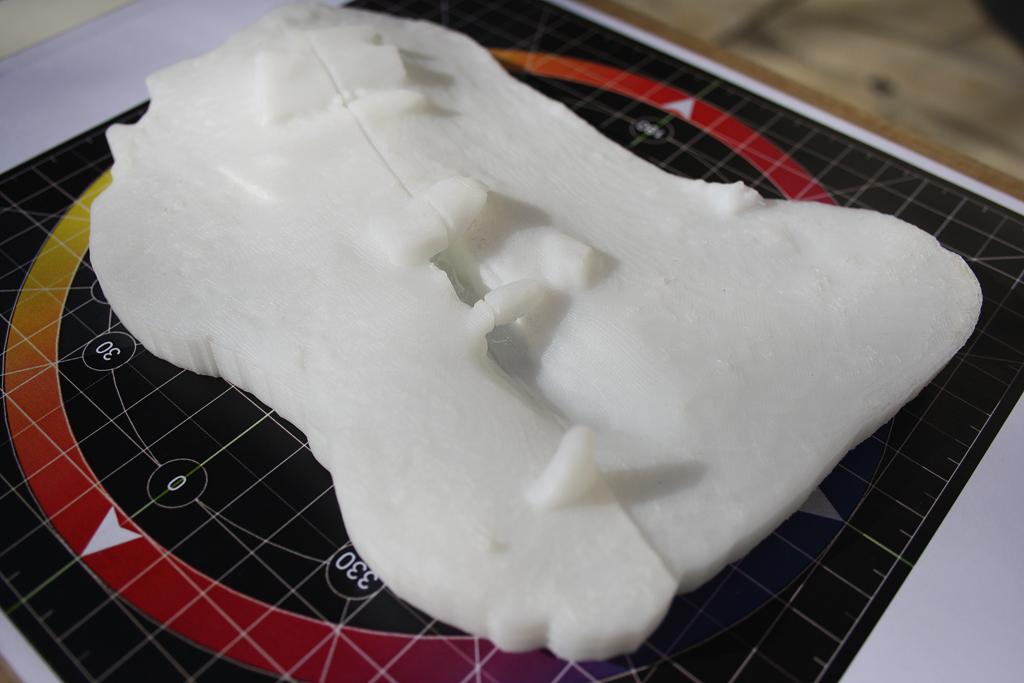
When finished, the two parts are assembled.
And split.
Conclusion
For this kind of organic model, I didn’t have the accuracy I expected. But I have now to check many parameters, such as size of polygons, resolution, and thickness. I also think that there a problem with the temperature of the platform.
But I’m also very happy of my scaled model, and I’ll carry on testing and printing.

